Step-by-Step Guide to Creating a Portable Asphalt Repair Kit
- Gather essential tools for effective asphalt repair.
- Understand the different types of sealants and fillers.
- Be prepared for quick fixes at home or on the job.
Having a portable asphalt repair kit can save you time and hassle when you encounter cracks or potholes that need immediate attention. Whether you're at home or on a job site, being prepared with the right tools and materials is essential for effective repairs. This step-by-step guide will help you create a comprehensive portable asphalt repair kit that can tackle various issues.
What You'll Need
Before assembling your portable asphalt repair kit, it's essential to understand what tools and materials you'll need. Here is a detailed list:
| Tool/Material | Description | Purpose |
|---|---|---|
| Asphalt Sealant | A liquid material used to fill and seal cracks | Repairs small cracks in asphalt surfaces |
| Crack Filler | A thick substance that can fill larger gaps | Prevents water infiltration and further damage |
| Paving Trowel | A hand tool with a flat blade | Used for smoothing and shaping asphalt |
| Asphalt Rake | A tool designed for evenly spreading asphalt | Ensures a consistent surface when applying repair materials |
| Safety Gear | Including gloves and goggles | Protects against hazards during repairs |
| Measuring Tape | A retractable tape for accurate measurements | Helps gauge crack size and repair area |
Step-by-Step Assembly
Now that you have a clear idea of what tools and materials you need, let's dive into how to assemble your portable asphalt repair kit effectively.
Step 1: Gather your tools and materials
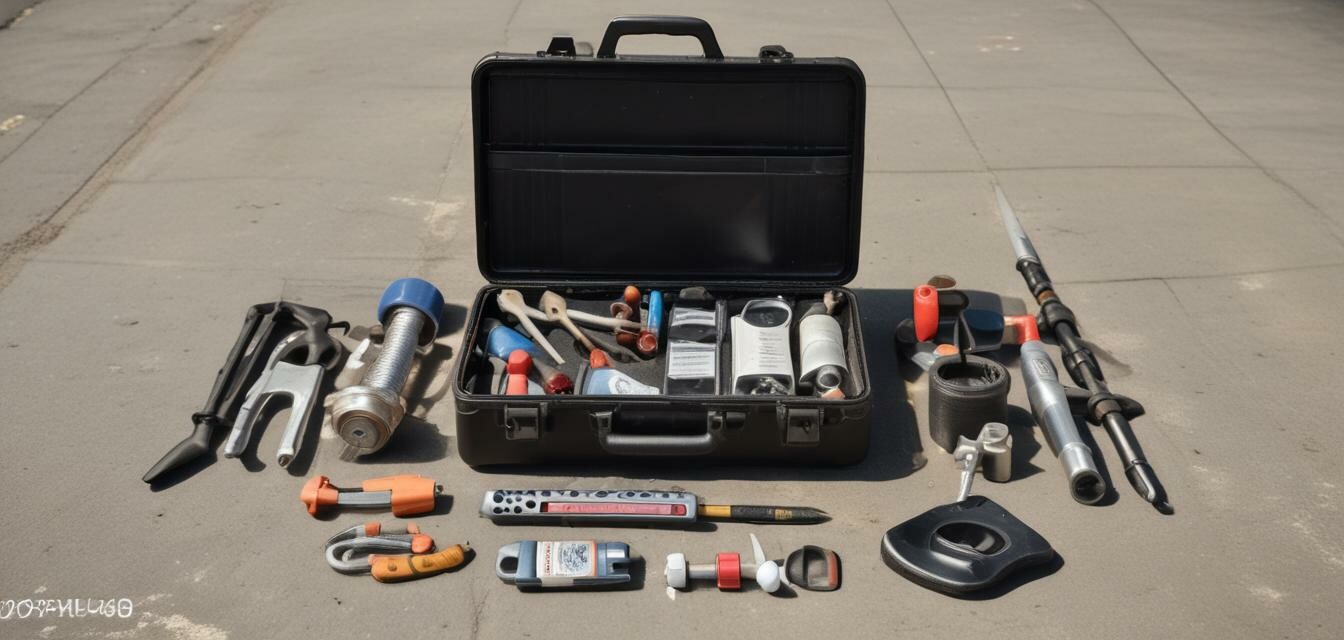
Collect all the items listed above. Make sure you have a suitable container, such as a heavy-duty toolbox or a sturdy bag, to store your materials. This will keep everything organized and readily accessible when you need it.
Step 2: Organize your kit
- Place the sealants and fillers in separate, labeled containers.
- Arrange the tools according to their size and frequency of use.
- Include a manual or guide detailing best practices for applying sealants and fillers.
Step 3: Include safety equipment
Safety should always come first when performing repairs. Make sure to include the following in your kit:
- Gloves to protect your hands from harsh chemicals
- Safety goggles to shield your eyes from flying debris
Step 4: Store in a convenient location
Once your kit is fully assembled, store it in a location where you can easily access it. This could be in your garage, shed, or even in the trunk of your vehicle for quick responses to unexpected repairs.
Maintenance of Your Repair Kit
Having a portable asphalt repair kit is not just about assembly. Regular maintenance is key!
- Check expiration dates on sealants and fillers.
- Make sure all tools are in working condition and clean before use.
- Refill materials after each use to ensure you’re always ready.
Tips for Effective Asphalt Repairs
- Assess the damage before choosing a repair method.
- Work on a dry day for the best adhesion of materials.
- Allow sufficient curing time based on product instructions.
Frequently Asked Questions
What is the best sealant for small cracks?
For small cracks, a liquid sealant designed for pavement repair will usually be effective as it easily fills the gaps and allows for a smooth finish.
How often should I maintain my asphalt surfaces?
It’s recommended to assess and maintain your asphalt surface regularly, especially after severe weather changes or heavy traffic usage.
Conclusion
Creating a portable asphalt repair kit is a straightforward process, but it can save you considerable time and effort in the long run. Ensure that you equip your kit with the essential tools and materials, maintain it regularly, and be prepared for any asphalt issues that may arise.
Pros
- Quick response for asphalt repairs.
- Cost-effective method for maintaining surfaces.
- Promotes DIY solutions for homeowners and contractors.
Cons
- Requires initial investment in tools and materials.
- Improper use can lead to ineffective repairs.
- Maintenance is necessary to keep the kit functional.
For more tips on asphalt maintenance, check out our how-to guides. If you're considering buying equipment, be sure to explore our paving tools section for the best options available!